 Our journey to NY ComicCon 2013 was almost complete. We just needed a good costume for T. He was going to go as the 10th Doctor but after reading about how hot it gets walking around. I decided rather than spending the day hearing him complain about how hot he was and carrying the suit all over the place that we needed a more comfortable costume for hot areas.
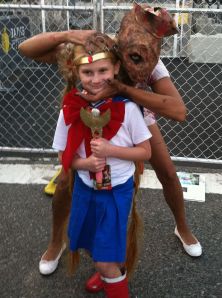
 Rory Williams costume
We were able to put together a Rory costume from Day of the Moon (6.2). We already had the polo shirt, shorts, and sneakers so it was only a matter of tally marks and the sharpie around Rory’s neck.
The tally marks: I used waterproof black eyeliner to draw on the tally marks all over the place. I figured they would be easy to remove when we got home but hold up to any sweating that may occur.
The sharpie on a string: I took a dried out sharpie and glued it to a piece of twine to be worn around the neck.
Rory costume is complete.
Now Off to NY ComicCon.

 The kids started off their day at the “Kidditch” (aka Kids Quidditch) which was presented by the International Quidditch Association in the Family Room. At once point, my son turned to me and told me he had found “his” sport. They both had a blast as they each took turns in the groups for lessons in tossing the quaffle, throwing the bludgers, and chasing the snitch.
Afterwards we headed tot he autograph room to get in line for John Barrowman. As we go in line, I discovered that sometime at Quidditch, T put down the bag he was holding for me while I took pictures of Suuki having their turn. This bag contained my cellphone, $120 cash, 2 credit cards, my driver’s license, T’s Epi-Pen, Suuki’s Lactaid, both childrens’ insurance cards, and the ticket to the parking garage where we parked the van. Basically, without this bag, our adventure was coming to a screeching halt.
A female crew member stayed with my children in the John Barrowman autograph line while I ran back to the Family Room in the hopeless search for the missing bag. The Quidditch people were gone so I began to randomly ask the next group that was setting up. One girl asked me my name. She then pointed me to one of the authors sitting in the Family Room. She said he had found a bag.
Children’s author and comic book writer, Alex Simmons became a REAL ComicCon hero. He found the missing bag and kept is safe for me. He turned our first experience at ComicCon from disastrous to miraculous. Our special trip together was falling apart by Mr. Simmons was there save the day.
 Now came the LONG wait in the autograph line for John Barrowman. From 11:22 AM until 2:03 PM, my two ADHD kids, one with Asperger’s, managed to stay in line to meet one of their heroes. Of course, breaking out the DS stash at 12:30 PM helped. I had told them at the beginning that they would have to share a picture of “Jack” because of the amo
 unt of money we allotted for the day. The kids were so cute and got all tongue-tied when the got to meet him. As he began to sign his autograph, he noticed that the two of them had only 1 picture. He turned to Suuki and asked them to pick what picture they thought was the best. Suuki pointed to a different picture than the one we paid for. He grab that one off the table, autographed that one, and gave it to them. They each has an autographed picture and giant grins but John Barrowman was finished making everyone’s day. He then told them “Do you know why you have a great mom? *pause* Because she took you to ComicCon. Thank you, John Barrowman, because you made this mom very happy. (I didn’t know my camera was dying at the time so the pictures we took were fuzzy.)
I felt really bad for Gareth David-Lloyd. He was very sweet but this day was for the kids and, well, Torchwood, does not have a kid audience so they did not know Ianto Jones.
We took a quick bit of lunch which I had packed in the backpack and we were off to the vendor floor. Once up there, we did not come up for air until ComicCon closed. The kids had a great time and enjoyed every second. Suuki felt like a movie star when people started asking them if they could take their picture.
Here are a few of the people we took pictures of on our visit:


Check out NY ComicCon Part 1 – Sailor Moon Costume Revisited.
Tags: alex simmons, comiccon, costume, costume for kids, doctor who, halloween, heroes, how to make, jack harkness, john barrowman, ny comiccon, rory, sailor moon, torchwood


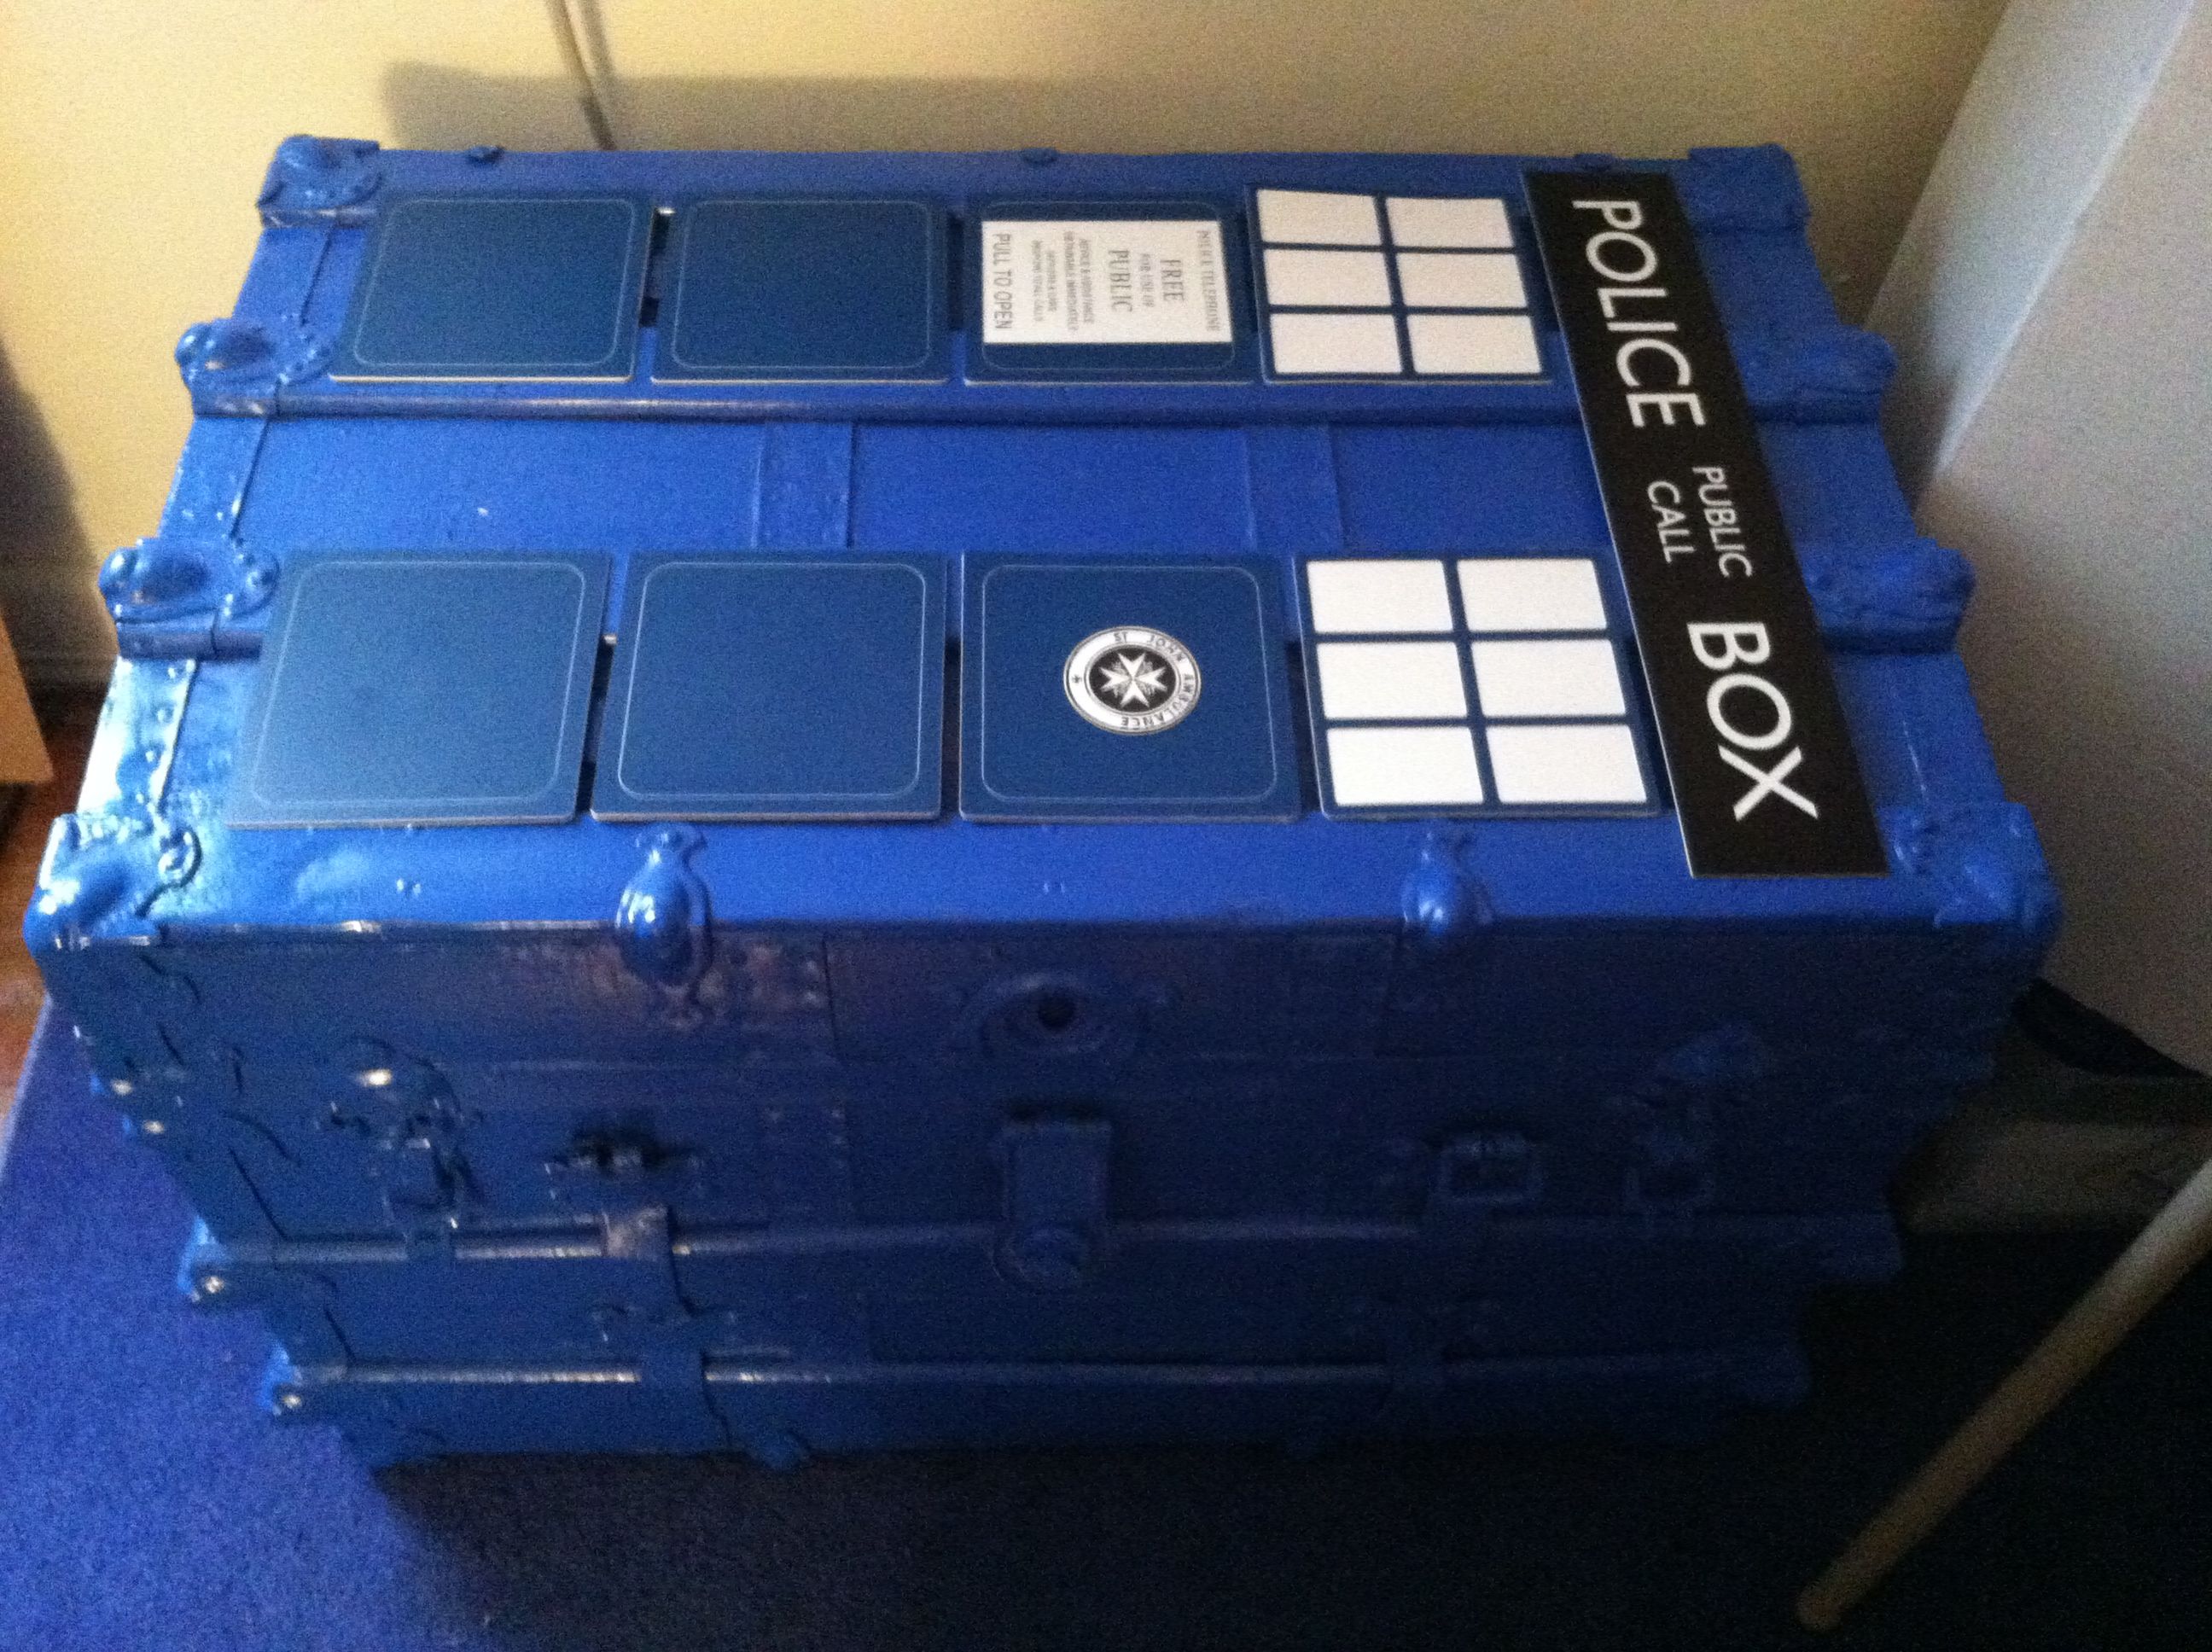
 It all started so innocently. I have always wanted an old-fashioned trunk. Towards the end of the summer, I passed a garage sale on my way home from work and came across a very beaten up trunk. They were actually selling the stuffed animals inside of it and you got the trunk for free. For $5, I bought my trunk and donated the stuffed animals to charity. The new trunk had seen better days. Someone had painted the outside bright green and then used green and pink shelf paper to line the inside.


