
Last summer, the kids had a visit from the Granddad and Aunt from England. We took a day to check out the new LEGOLAND® Discovery Center Westchester in Yonkers, NY. I regret that we never got to LEGOLAND® California Resort before we moved from Las Vegas to New York so this little trip was a big deal for Tristan.
Bring your Wallet, Credit Cards, and Right Arm!
The first shock you will get is the ticket prices: $18 a child and $22 an adult. They also tell the kids about a special activity badge they can buy that includes a booklet on a lanyard with stamps to collect at each location and some puzzles for an extra $4 each. Well, no kid seemed to go past the ticket seller without upgrading their package making their price the same as the adults. So for the 5 of us, it cost $110 just to get in the door.
Your first stamp/stop is the LEGO® Factory Tour where the kids to pretend to make LEGOs®. There was a feature for seeing how much you weighed in LEGOs® but this was not working the day we were there. It basically said each of us weighed the same number of blocks.
Your next stop is Kingdom Quest which is a short ride that has laser guns. You travel through an adventure where you have to shoot the “monsters and stuff” to gain points. The kids felt the ride was too short considering how long they waited to have their turn.
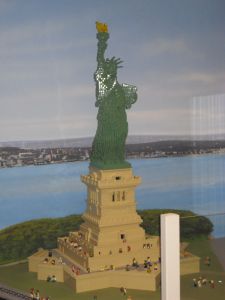
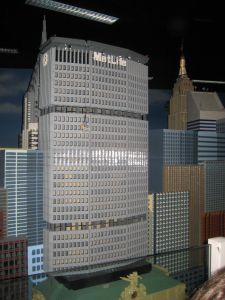
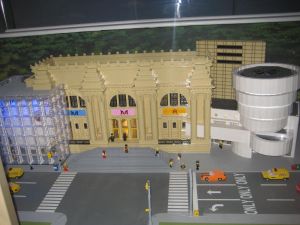
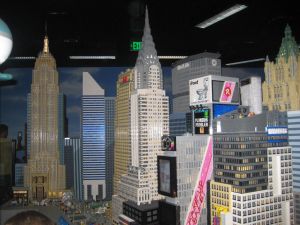
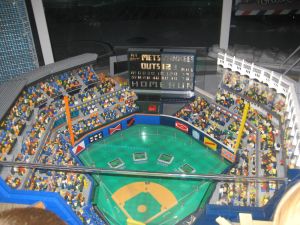
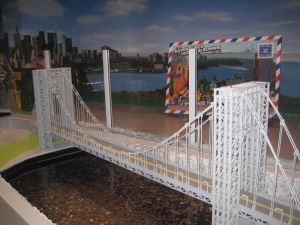
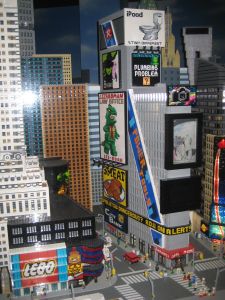
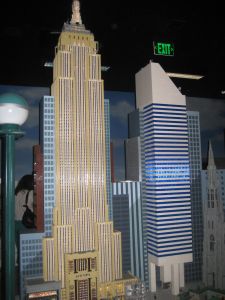
You travel through MINILAND® to get to the rest of the center. MINILAND® was definitely the adult favorite of this trip with a LEGO® replica of New York City. I will post pictures from MINILAND® area at the bottom of this post.
As you enter the main center, you realize that it is a swarm of madness and chaos. This is a large, warehouse type room fill with strollers and LEGOs®. In this main room there is LEGO® Racers: Build & Test, Merlin’s Apprentice Ride, LEGO® Fire Academy, LEGO® Construction Site, LEGO® Master Builder Academy, DUPLO® Village, Earthquake Tables, LEGO® Friends, and LEGO® 4D Cinema.
The hands-on activity areas were:
- DUPLO® Village (Ages: 1 – 5) – A Mommy and me type of area for the younger crowd.
- LEGO® Fire Academy (Maximum height allowed inside is 54″) & LEGO® Construction Site (36″ to 54″ Tall) – A climber system with just the kids allowed inside. It was utter madness in there with little ones being taken out by plush LEGOs®. Not for the nervous parent. My kids were on the older side of things. There was really no monitoring system to make sure the smaller ones were not in the older area. Most kids in here were on average 4-5 years old.
- Earthquake Tables (All ages) – A station with several tables to test your building creations against the powers of an earthquake. The kids enjoyed this station but for the amount of children in the facility there was really not enough tables. There were many parents not keeping an eye on their children here so the kids were just pushing others out of the way to take tables away from kids that had been waiting.
- LEGO® Racers: Build & Test – (All ages) A building area to make your own car and test it on a race track and stunt track. As with the Earthquake area, there really was not LEGO® wheels to go around for the kids to make cars with. The kids were crawling all over the floor looking for lost wheels just to have their cars have enough to race.
- LEGO® Friends (All ages) – This area is dedicated to the “girl line” of LEGOs® which rather annoys me because I loved playing LEGOs® as a kid and did not need pink and purple blocks to make my own houses, dog bowls, robots, etc. Suuki loved this area because there was karaoke.
- LEGO® Master Builder Academy (Suggested Age: 7 and up) – A private classroom where the kids build a pre-made kit like the ones you can buy at the checkout. There is a at schedule for the classes and each class has a maximum number of kids allowed inside. A less-than enthusiastic “Master Builder” talks the kids through building their LEGO® kits. T found himself moving ahead because the instructor was really slow. There is a catch to this class: you have to pay for the kit you just made if you child wants to take it home. So budget for some extra cost. I asked at the shop and they said these kits can run as much as $10 depending on the class.
The experience areas were:
- Merlin’s Apprentice Ride (Minimum 36″ tall to ride, Up to 48″ must right with an adult) – This is the one ride that is in this center. This one ride has a line longer than most at any Six Flags. By the time you get to the front of the line, your kids are hanging from the rafters. According to my children, this ride was not worth of the wait. The phrase “it just plain stinks” was used to describe the ride.
- LEGO® 4D Cinema (All ages) – This was the highlight of the trip. The kids wanted to keep going in over and over again. There were two movies running that day with LEGO® Legends of Chima™ 4D Movie Experience and LEGO® City: A Clutch Powers 4-D Adventure. Both movies kept my kids amused and they loved the 4D effects that were featured. We are just glad it was not in Smell-O-Vision. The kids still quote the skunk featured in the Chima™ movie with a sheepish “sorry”.
As with most places, you exit through a store. Exiting through a LEGO® Store can be a harrowing experience with exhausted children. All in all, this place is really for younger kids more than anything. If you child is around 5-7 years old, that would be the ideal age. Beyond that they will be bored with most of the activities.
LEGOLAND® Discovery Center Westchester
39 Fitzgerald St
Yonkers, NY 10710
